Create resource class groups
District resource managers can use resource class groups to assign multiple resources to classes (not sections) at the district level. This lets each school or teacher choose the resource that best meets their needs.
For example, your district has various science textbooks from three different years or science project kits that you are slowly updating. Use a resource class group to let a school continue using the textbooks they have on hand or a teacher pick the project each class will do. Resource class groups can contain any type of resource, including eTextbooks, and a resource can be assigned to multiple classes.
To create a Resource Class Group:
- Log in as a district user.
- Go to District Back Office.
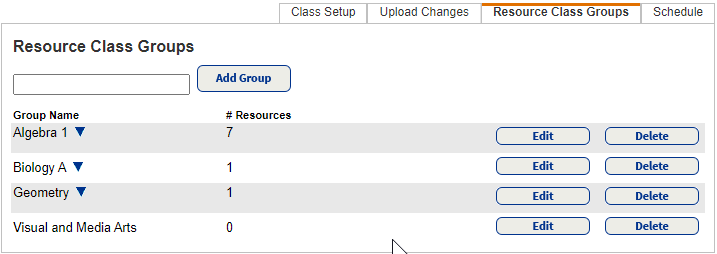
- Select Admin > Update Classes > Resource Class Groups.
- In the field, type a unique name for the group, and then click Add Group.
- Use the Find drop-down to select the resource type.
- In the field, type the search criterion, select the field for that criterion, and then click Go.
- Find the resource you want, and then click Assign to Group.

The resources move to the Currently Assigned Resources section.Note: The search results do not include any resource that is already in the group, in another group assigned to a class that is using this group, or assigned to a class as an individual resource. - When you are done filling up the group, click OK.
When groups are created, they appear on the Resource Class Groups tab. To see the details of each group, click  . You can now associate resource groups to classes.